

Getting Started
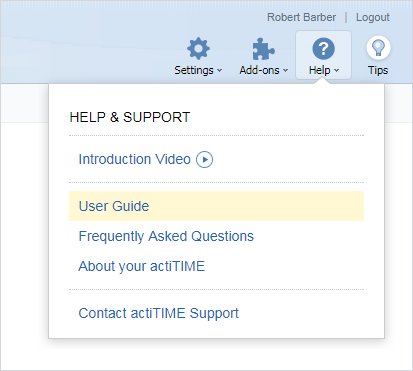
Before you get started with actiTIME timesheet software, we suggest that you watch our short introduction video. Start it from the Help menu.
It will provide insight on how actiTIME works and what you need to set up to start tracking time in it.
Before using any actiTIME interface for the first time, we recommend you to turn Tips on. They will show what actiTIME interface elements are intended for.
When you don’t need tips anymore, you can turn them off.
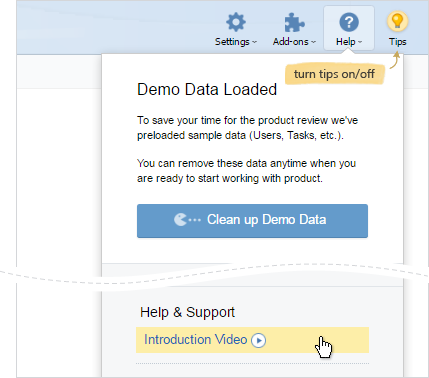
We have preloaded demo data in actiTIME: sample tasks, users, and time-track data. When you are ready to work with your own data, clean up all demo data from the system. This can be done from the Help menu.
After that, you can go live with your own data. Follow the steps outlined in this guide to start tracking time in actiTIME.
- One by one, via the + New User button
- Through bulk invitations (i.e., Invite Several Users)
- Or by importing user data from a CSV file (i.e., Import Users from CSV)
1. Invite your colleagues to actiTIME
The first thing you need to do in the new timesheet software used in your company is invite your team to the system. You can do that directly from the Help menu…
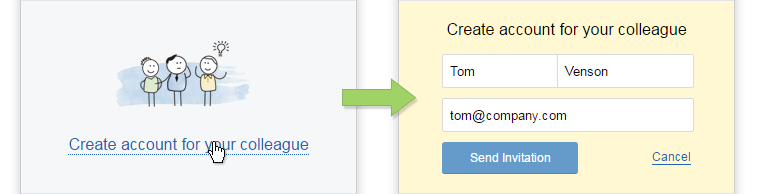
or from the Users interface, where you can add employees to the system:
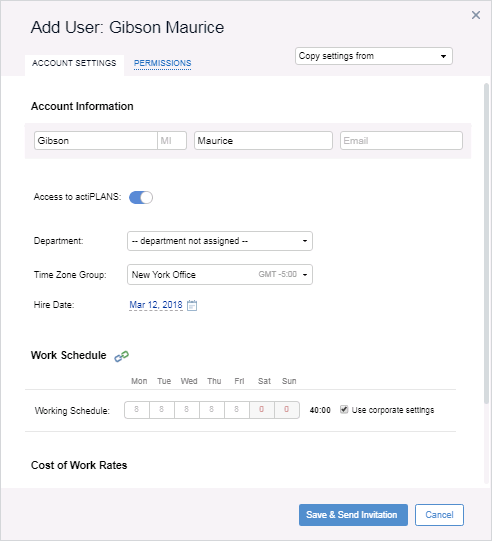
Configure New User Profile interface
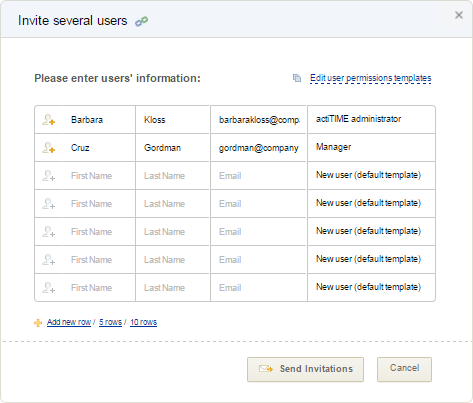
Invite Several Users at Once interface
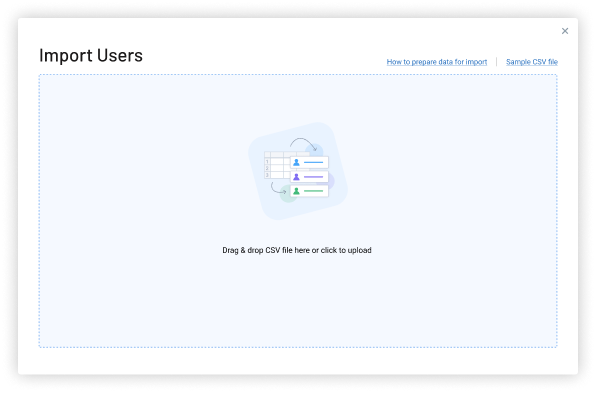
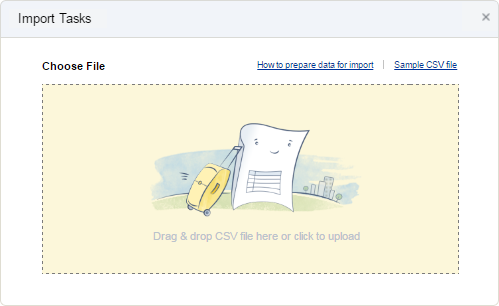
Import Users
After you have invited your colleagues, you will need to create tasks in which they will track their time.
2. Create tasks and set up workflow
In actiTIME, the time tracking structure has three levels:
Customer → Project → Task
Time is tracked against the lowest level – tasks. So, you first need to create customers / projects, attach new tasks to them and then add those tasks to users’ timesheets.
Customers, projects and tasks can be easily added in the Tasks interface. Two options are available: creating tasks manually or uploading them from a CSV file.
By clicking on the +Add New Tasks button, two options appear: you can configure new tasks manually or import them from a CSV file.
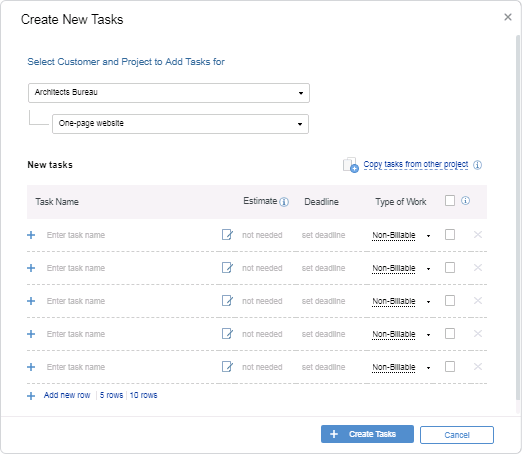
If you need to create multiple customers and projects with similar tasks, you can simply import tasks from a previously created project by clicking on Copy properties from existing tasks.
If necessary, set up an estimate in hours, a deadline and a type of work for the new tasks. See more details on how to configure task settings in the Task Management section of the User Guide.
Setting Up Workflow
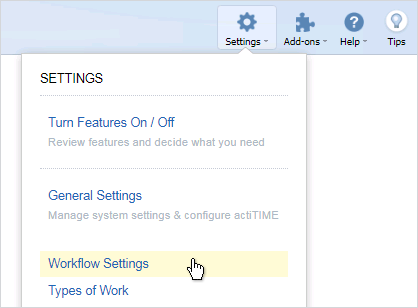
To manage your work process more efficiently, define workflow statuses for your tasks in Settings → Workflow Settings interface. When you don’t need tips anymore, you can turn them off.
The statuses will define the steps of your work process, for example: Specification, Design, Development, Released, Archived, etc.
You’ll be able to see tasks sorted by statuses and move them from one status to another in the Kanban view of the Tasks interface:
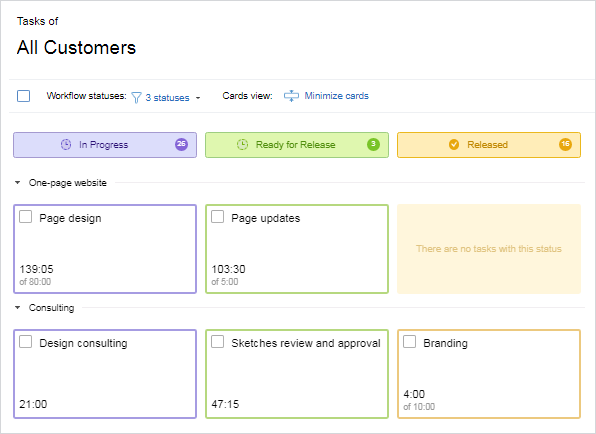
See more details about managing workflow and using different views in the Tasks interface in the Task Management section of the User Guide.
3. Enter time-track
After tasks are created, users can start to track their working time. But first, they need to add some tasks to their timesheets or calendars located in the Enter Time-Track interface:
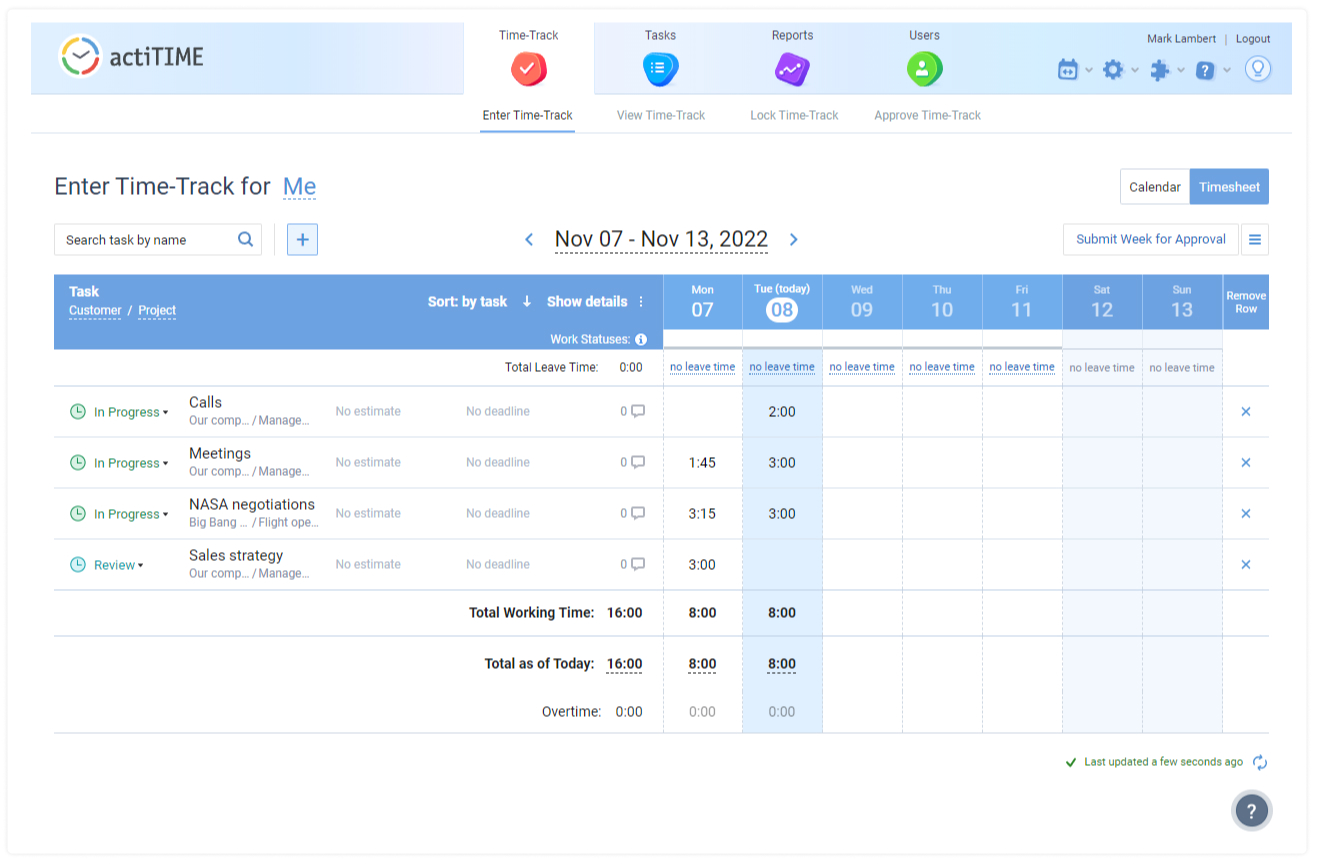
There are three ways to select tasks to be added to the time-track:
- Search tasks by name;
- Add recently used tasks;
- Add tasks from the complete list.
All these options are displayed above the timesheet / calendar.
4. Decide what timesheet software features you will be using
You can keep actiTIME interfaces as simple as possible. If you don’t need some features, you can easily disable them in the Turn Features On / Off interface that is available from the Settings menu:
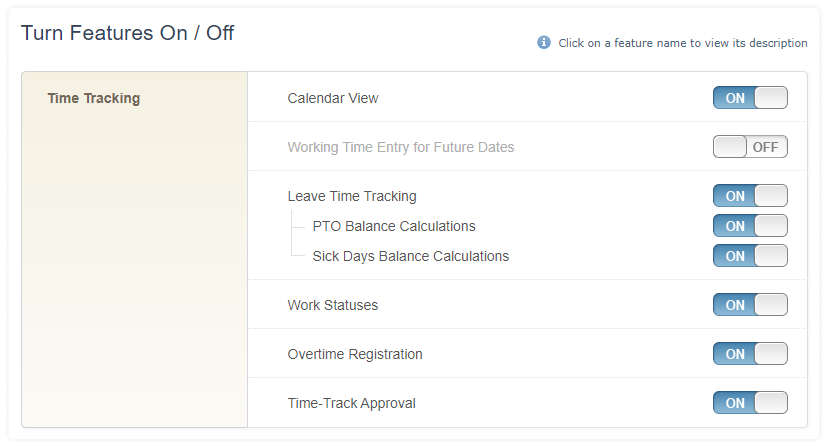
The disabled feature will be completely hidden in the actiTIME interfaces. You can enable or disable the features anytime you consider this necessary.
If you have entered some data in the interface that you want to disable, you have nothing to worry about – these data won’t be lost; they will be available again after you turn the feature back on.
5. Review and configure system settings
You can easily customize actiTIME according to your needs:
- Rename the time-track hierarchy levels,
- Define corporate work schedule,
- Set default time zones, etc.
These settings are configured in the General Settings interface. For further information, refer to the General System Settings of the User Guide.
Help & Support
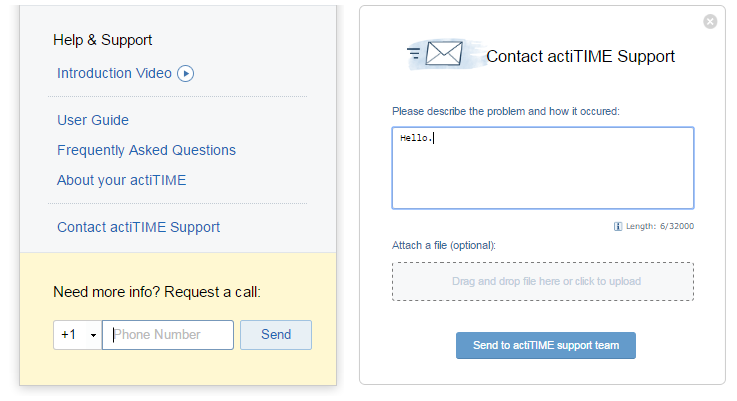
actiTIME interfaces are designed to be as intuitive as possible; however, if something is not clear to you or you need more information on the new timesheet software, don’t hesitate to contact our support team. Request a call or send us a message from the Help menu. You can attach a log file or a screenshot to the message to provide more technical details on your issue.