The term “milestone” actually has its roots in ancient Rome, where it referred to literal stone markers placed along roads at regular intervals to help travelers track their progress. These markers were often inscribed with the distance to the nearest city or town and were a crucial tool for ensuring safe and efficient travel.
Today, the concept of milestones is just as relevant as it was in ancient times. No matter what kind of project you’re working on, they will help you stay motivated and focused on your goals. So, let’s find out how to make a perfect milestone chart template and which benefits it provides. Besides, you can download our free milestone chart template to set yourself up for an easy start.
What Is a Milestone Chart?
A milestone is a significant event or achievement that marks a turning point or a stage of progress. You can think of it as a mini goalpost that you’re working towards within your bigger goal of completing the whole project.
Now, let’s see what a milestone chart is.
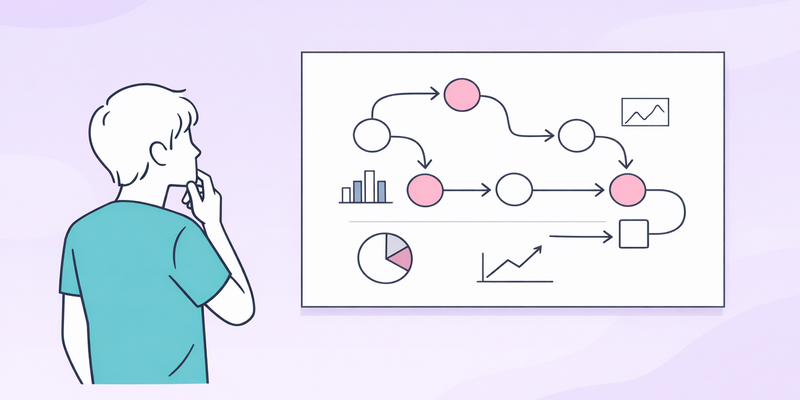
Basically, it’s a visual representation of all the milestones you’ve set. It’s a commonly used tool in project management and planning. It assists with progress tracking and provides a clear overview of key deadlines and deliverables.
How Do Milestone Charts Help?
- Keeping track of deadlines: Milestone charts help you keep track of when project tasks need to be completed and when certain milestones or goals must be reached. This allows for better control and time management, no matter if you work alone or in a team.
- Prioritizing tasks: Visualizing all the work activities that you need to complete (+ their due dates) helps to prioritize tasks more easily. And once the right priorities are set, you can allocate resources and time more efficiently.
- Managing dependencies: Many tasks are chronologically dependent on others and cannot be worked on simultaneously. With milestone charts, you can clearly see the order in which tasks should be completed, thus improving resource scheduling and avoiding delays.
- Identifying potential roadblocks: When making a milestone chart, you can identify potential issues that may arise during the project, such as resource constraints, scheduling conflicts, or technical difficulties. By spotting these issues early on, you can take proactive steps to address them before they grow out of hand.
- Communicating progress: Milestone charts are a great way to communicate progress to stakeholders and team members. By reviewing the chart regularly, everyone can see how the project is progressing and what still needs to be done.

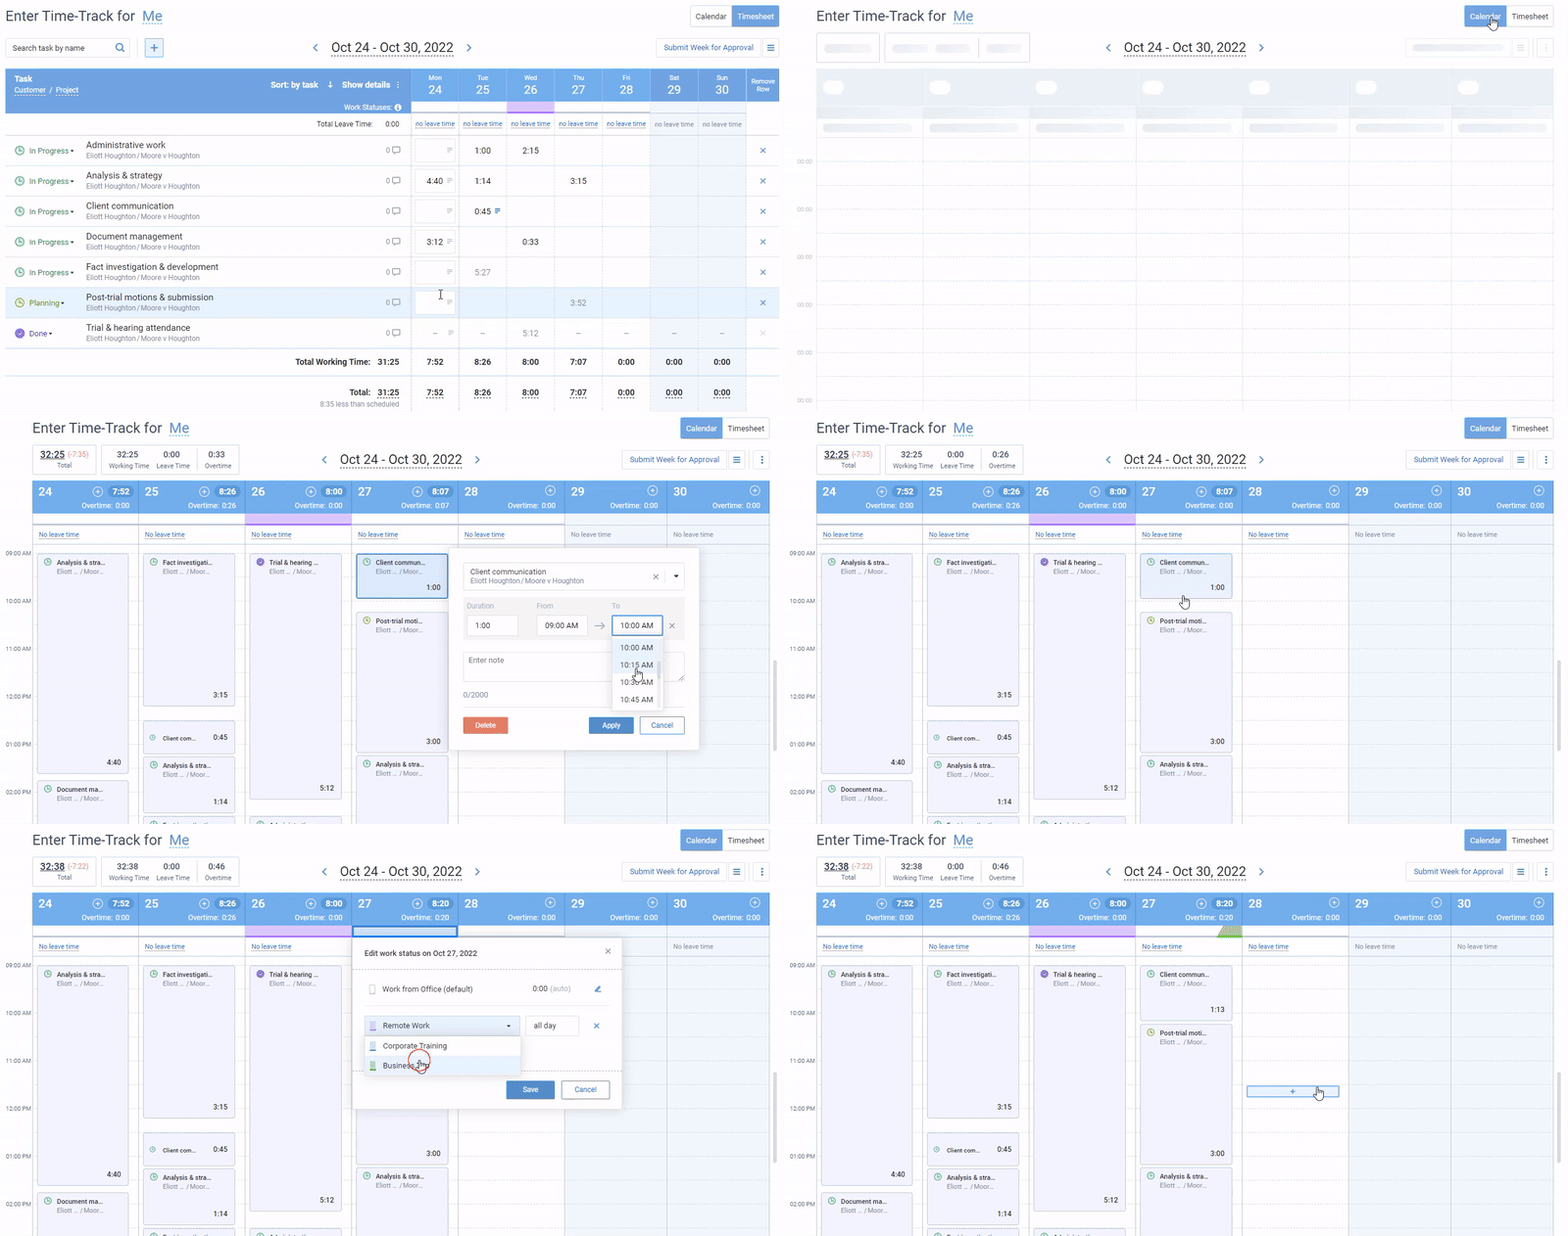
Plan out your project activities, set task priorities, and keep track of deadlines in a single intuitive actiTIME interface.
How to Make a Perfect Milestone Chart
Step 1: Define your project scope
Defining the project scope is essential in managing any kind of project. It is a roadmap that outlines what needs to be done, how to do it, and what the project’s boundaries are.
- Identify a business problem that the project is supposed to solve. This is the core reason why the project was initiated. You should analyze and define the business needs to be addressed by the project.
- Determine the project objectives and deliverables. The objectives should clearly describe the expected outcomes of the project. A project deliverable is any product, service, or result that is produced or provided as a result of the project.
- Define project constraints and assumptions. Project constraints refer to any limits that will affect the project’s implementation, such as budget, time, and resources available. Assumptions, on the other hand, are things you might assume to be true but have not been fully validated.
- Create a scope statement. It should bring together the project’s objectives, deliverables, constraints, and assumptions. Plus, make sure it’s clear, concise, and easy to understand by all project stakeholders.
Step 2: Estimate project tasks
Accurate estimates allow you to create a realistic project timeline. With their help, you can allocate the right amount of resources to tasks – including budget, personnel, and time – to ensure that the project is completed smoothly and efficiently.
- Break the project down into smaller tasks. It’s much easier to estimate the time it will take to complete each individual task than to estimate the project as a whole. By breaking the project down into smaller, more manageable tasks, you can better estimate the time it will take to complete each one.
- Consider the variety of factors. For instance, complex tasks will naturally take longer to complete than simpler ones. However, more experienced team members are likely to complete tasks faster than those who are less experienced.
- Involve others in the estimation process. If you’re working on a team, ask colleagues to provide their own project estimates. Their insight and experience will help you ensure that all of the necessary tasks are considered and that the estimates are as accurate as possible.
- Use similar projects as a reference. For example, if you’re planning a project that involves creating a website, and you have previously created a similar website that took you two weeks to complete, then you can use that as a reference to estimate the time it will take to complete the new project. You can adjust the estimate based on any differences between the two projects, such as the complexity of the website or the number of pages.

actiTIME lets you track time in multiple convenient formats and provides detailed data on work performance to help you estimate tasks more accurately.
Step 3: Identify your milestones
Now, take a look at your project timeline, identify the major phases or stages of your project, and break them down into smaller tasks. For example, if you’re building a website, your major phases might include designing, coding, and testing. Within each of these phases, you’ll have smaller tasks like creating wireframes, writing code, and running user testing. Each of these smaller tasks can be considered a milestone once completed.
It’s important to note that not all tasks need to be milestones. Focus on the ones that are most important to the success of your project, and use them as markers to track your progress. Additionally, keep in mind that milestones should be visible and measurable. You want to be able to look at your project plan and clearly see when you’ve hit a milestone.
Step 4: Add your milestones to the chart
There are many different formats for milestone charts, including simple calendars and spreadsheets or more complicated software with built-in project dashboards. Think of what will work best for your project and team + consider downloading our PowerPoint milestone chart template for an easy start.
All you need to do is download the template and open it up in PowerPoint. Then, simply add your project milestones and deliverables with their corresponding start and end dates. You can also change colors, fonts, and layouts to suit your brand’s aesthetic and provide a cohesive visual story for your audience.
Download it from here 👈
Step 5: Keep your milestone chart up to date
It’s not enough to simply create a chart and call it a day. It’s just as important, if not more so, to keep that chart updated throughout the entire project.
Firstly, regular updates are crucial for ensuring that everything is going as planned. By editing your chart in line with actual work progress, you can identify any potential issues that may arise. This allows you to be proactive in mitigating problems before they become larger and impact the overall project’s success.
Besides, by keeping your milestone chart up to date, you ensure that stakeholders, team members, and anyone else involved in the project are on the same page and can easily track progress and identify areas where additional support may be needed.
Keep It All on the Right Track with actiTIME
When it comes to tracking project progress efficiently and accurately, nothing beats actiTIME. With this software, you can easily allocate work to employees, set task deadlines, and keep track of their progress in real-time.
actiTIME allows you to track time spent on each project and task. This means that you’ll have accurate data to analyze team performance and tweak your process for future projects. You can also use this data to estimate the time it takes to complete certain tasks more precisely, which will help when planning new endeavors.

On top of that, actiTIME features the Kanban board that visualizes each stage of the project / workflow and, thus, allows you to easily monitor ongoing team workloads and make necessary adjustments on the fly.
Sign up for a free actiTIME trial today.


![9 Best Contractor Time Tracking Apps for 2026 [Free & Paid]](https://www.actitime.com/wp-content/uploads/2020/10/how-to-find-efficient-contractor.png)

